Showing posts with label DIY. Show all posts

Monday, August 31, 2015

Make your own Light up Shoes

Here's another good project for kids (or anyone, really) starting to learn about making with electricity. It's a good step up from the previous project I posted here, the Lightbulb Bauble. This project uses most of the same parts, but it's a step up in complexity, using parallel circuitry and a DIY pressure sensor to make the LEDs light up every time the wearer takes a step.

For this project, you'll need:
Lace-up Tennis Shoes
6 LED's with attached wires (or solder on your own)
An Index card
Aluminum Foil
Duct or Electrical Tape
1 Watch Battery
Index Card sized piece of Cardboard


The first step: if you have not yet attached wires to your LEDs, go ahead and do so. The wires should be about the distance from the eyelets closest to your toe on your shoes to your heel.


Next, you want to thread the ends of each LED through the eyelets of the shoe, and pull the wires toward the heel. Add as many as you like, though make sure that the shoe is still wearable.


To prepare the pressure sensor, fold your index card in half, and attach some foil to both sides of the inside.  Attach the wires from each LED to the foil - black (negative) to top, red (positive) to bottom. Then tape down the battery on one side so that when you close the index card, the foil only touches the battery. You may have to cover excess foil with tape. 


When the pressure sensor is closed, the circuit it completed, and the LEDs should light up!


To increase the durability of the design, fold a piece of cardboard in half, and glue your index card pressure sensor to the inside.


This is a great project to teach kids about parallel circuits. Ask them why a parallel circuit is necessary - what happens if the LEDs are wired in series? It also introduces the idea of an open/closed circuit. What other ways can a circuit be opened or closed? How do we use this in everyday life?
If you're interested in purchasing the materials to make this project, you can find my new store here. All proceeds go to supplying school STEM programs and Makerspaces with fun and educational resources. Have fun making!

Tuesday, February 24, 2015

Makerspace: Chugging along!

Sorry for the dearth of posts! It's been a rough couple of weeks here, what with school, theatre, and even a coding competition (2nd place!), and the NCWIT Aspirations in Computing Affiliate Award Ceremony!

But mostly, I've been slowly pushing forward with my Gold Award project.
I've held 4 meetings so far this semester. I try to start each one with some kind of a question. For example, a the first meeting I asked what each student thought technology was, and what it was used for. ( I keep the questions open ended, so I sometimes get some... interesting answers.) Then I introduce an activity, and the rest of the meeting is devoted to that activity.

 The first one focused on the engineering design process. I built a ramp at home out of old K'Nex kits, and had students divide into groups to try and design a Lego car that could jump off the ramp from one desk to another. The group work turned out well - it's definitely something I'll continue. The kids really enjoyed the chance to talk more while they worked. Later meetings have been about programming, and more recently, robotics and game design.

The club is also making use of a Google Classroom to keep in touch outside of class. I like the Google Classroom setup, although I find myself wishing it was a little less of a bare-bones framework. I'd appreciate an easier calendar application, intersectionality with google hangouts, etc.

Finally, I was pointed by my sponsor to an assistant principle at my school who was interested in creating a Girls Who Code club at the school. This kind of thing requires a higher-up approval where I live, so it probably won't get started until next year, but it's a step toward getting a wider recognition of what I'm trying to do, and I'm excited to help.

Anyway, this is what the space looks like right now:

The new boxes and ramps are from some of the previous projects.


Slowly but surely, we're getting there!

Coming soon: I PROMISE I will finish my post on my Tic Tac Toe program soon - every time I start writing about it, I end up working on improving it again. Then I've got another book review from the opposite end of the AI spectrum - Ray Kurzweil's "How to Create a Mind." So stay tuned!

Sunday, January 11, 2015

Simple Circuitry Projects: Make a Lightbulb Necklace!

Note: This is a more seasonally appropriate version of my  Holiday Bauble Project - both projects can be made from the same parts, and are put together in a similar way, and are great as a first project for individuals or groups interested in circuitry!


Here's what you'll need: 

1 Miniature Glass Ornament
Some silver ribbon (I used Easter Basket filling)
2 Pieces of Wire
1 Lithium Coin Battery

1 LED

A hot glue gun
A pencil
Some tape (electrical tape works best)
Scissors


How to make your ornament:
Carefully pull the silver top off the glass ornament, then pull the pin out.


Use a pencil to push the silver ribbon into the ornament.
Put a piece of tape on the inside of the silver ornament top so that it covers the two holes. Poke one of the leads of the LED through the tape and through the hole so that the bulb is UNDER the ornament top.


Use the hot glue gun to secure the LED to underside of the lid so that the bulb sticks out by about half an inch. 


Then glue the lid back to the top of the ornament so that the edge of the lid touches the top of the glass neck of the ornament, and wrap both in your choice of duct tape. 


Make sure to test it! If the LED doesn't light, it could mean that you need to wiggle the leads so they aren't touching the lid of the ornament. 


Loop one of the metal ends of the black wire around the shorter lead on the LED, and secure it with hot glue or tape.  Make sure the wire is directly touching the lead! Then, do the same with the red wire on the longer lead.

If you're interested in doing the experiments (which require 2 or more baubles), here are the instructions I'm giving out with the kit below:

PARALLEL AND SERIES CIRCUIT EXPERIMENT


Series circuits are created by wiring all the components of a circuit in a line. The electricity moves straight from one component to the next. They’re useful when you want a circuit to shut down completely if it’s damaged. 

Just connect the wires red to black for series, and make sure the red wire goes to the positive side of  the battery, and the black to the negative. 

What happens when you add more ornaments to the chain? Try touching a paperclip to both leads of an LED in the circuit. What happens? Why is this? 


Parallel Circuits are created when each component gets its energy directly from the same energy source. They’re useful when you want each component to work independently of each other, or if you don’t want damage to one component to affect the others. 

For a Parallel circuit, the black or red wires for each ornament connect with the black or red wire leads of the next LED. The last black wire in the chain goes to the negative side of the battery, the last red wire to the positive. 

What happens when you add more ornaments to this chain? Try touching a paperclip to both leads of an LED in the circuit. What happens? Why is this? 


Finally, to finalize the lightbulb, tape the other end of the red wire to the positive side of the battery, and the black wire to the negative. The LED should light up. If it doesn’t try swapping the wires or moving the LED’s leads. If they’re in contact with the metal of the ornament top, the LED won’t light.

Now you can use your lightbulb as an ornament, a necklace, or whatever strikes your mood! And don't be afraid to personalize it with further decoration.

And if you happen to make one, please, send me a picture at rach.s.thompson@gmail.com. I'd love to see it!

Tuesday, December 16, 2014

Teaching Basic Circuitry the Holiday Way!

If you've seen my last post here, you've probably seen this little bauble.


This is the final product created by the no-solder kit I'm selling to fund my Gold Award project. The idea is that the kit is easy to assemble as a kit to teach younger kids about Parallel and Series Circuits, while still leaving something cool for them to take home. Each bauble costs less than a dollar to make*, and all the materials can be bought with a trip to a craft store and an electronics store, so I'd say it's pretty successful!

*If you buy batteries online, as most coin batteries I've seen are insanely expensive at grocery stores. I bought 100 for $17 from this website.

Here's what you'll need: 

1 Miniature Glass Ornament
Some silver ribbon (I used Easter Basket filling)
2 Pieces of Wire
1 Lithium Coin Battery

1 LED

A hot glue gun
A pencil
Some tape (electrical tape works best)
Scissors

How to make your ornament:
Carefully pull the silver top off the glass ornament, then pull the pin out.


Use a pencil to push the silver ribbon into the ornament.
Put a piece of tape on the inside of the silver ornament top so that it covers the two holes. Poke one of the leads of the LED through the tape and through the hole so that the bulb is UNDER the ornament top.


Use the hot glue gun to secure the LED to underside of the lid so that the bulb sticks out by about half an inch. 


Then glue the lid back to the top of the ornament so that the LED is hidden by the silver ribbons


Loop one of the metal ends of the black wire around the shorter lead on the LED, and secure it with hot glue or tape.  Make sure the wire is directly touching the lead! Then, do the same with the red wire on the longer lead.

If you're interested in doing the experiments (which require 2 or more baubles), here are the instructions I'm giving out with the kit below:

PARALLEL AND SERIES CIRCUIT EXPERIMENT


Series circuits are created by wiring all the components of a circuit in a line. The electricity moves straight from one component to the next. They’re useful when you want a circuit to shut down completely if it’s damaged. 

Just connect the wires red to black for series, and make sure the red wire goes to the positive side of  the battery, and the black to the negative. 

What happens when you add more ornaments to the chain? Try touching a paperclip to both leads of an LED in the circuit. What happens? Why is this? 


Parallel Circuits are created when each component gets its energy directly from the same energy source. They’re useful when you want each component to work independently of each other, or if you don’t want damage to one component to affect the others. 


For a Parallel circuit, the black or red wires for each ornament connect with the black or red wire leads of the next LED. The last black wire in the chain goes to the negative side of the battery, the last red wire to the positive. 

What happens when you add more ornaments to this chain? Try touching a paperclip to both leads of an LED in the circuit. What happens? Why is this? 


Finally, to finalize the ornament, tape the other end of the red wire to the positive side of the battery, and the black wire to the negative. The LED should light up. If it doesn’t try swapping the wires or moving the LED’s leads. If they’re in contact with the metal of the ornament top, the LED won’t light.

I hope this lifts your holiday spirits! It's fairly durable (I was able to wear one on a necklace all day at school with minimal problems.) and it looks good. Try it as an ornament, a necklace, and augmentation to an ugly sweater, or just a shiny reminder to say "Happy Holidays!" 

And if you happen to make one, please, send me a picture at rach.s.thompson@gmail.com. I'd love to see it!

Friday, December 12, 2014

Makerspace, Part 2: The Plan.

Last week, I finally got to have my first meeting with the middle school Technology club I'm working with to create the Makerspace. We talked about what a Makerspace was, how we were planning to use it in the school, and the various bits and pieces of old projects that I brought to show what kinds of things could be made in a Makerspace. Basically, it was a condensed version of this post, with a few pictures from Big Hero 6 and Iron Man 3 as reference points.

Good movie...  but it was no Wreck-it-Ralph. 

At the end of the meeting, I had ever student write down on their slip of paper the top ten things they wanted to be able to make/learn in the technology club. Over the weekend, I looked through all the answers I got, and came up with the five main units that would be the most useful and interesting to kick off the Makerspace and the Tech Club. The Technology club has two types of meetings - "Class" meetings, which teach skills like the one's seen below, and "Business" meetings, where we'd focus more on the Makerspace itself, and where members would have time to share the projects they've been working on (THAT is for a different post). But the introductory skills are important for the students with little or no experience. So here's what I've put together: 


1. Programming
 This is the obvious one, but I've put it as the first unit because it's a vital skill so many of the other projects the students were interested in, and because it doesn't require expensive materials. I'm working on lesson plans for a programming intro class for Scratch, which will hopefully give enough of an introduction that the students will feel comfortable working on Codecademy tutorials or learning from other online resources


2. Robotics
These kids love robotics almost as much as I do. The issue here is limited time and materials. I'm planning on doing two classes with Mindstorms Ev3 - one for building, one for programming. I'd also like to incorporate robotics into an Arduino introduction later on - I have an RC car that I robotized with an Arduino that would make a good example.


3. Circuitry
While I'd actually prefer this unit before robotics, the littleBits are one of the more expensive items in the budget, and, while I have an Ev3 kit at home that I could bring as an example, the same isn't true here.


4. Computers
This is kind of a catch-all unit. Here I definitely want to have a class on the Raspberry Pi, but I also want to bring in some of the other Technology Club Alumni to teach classes on things I'm not as familiar with, like App programming and Web Design. (It's interesting to see how our individual interests were foreshadowed through Tech Club and the technology class. The ones who spent all their time on the iPod touches now program them, the ones who spent all their time tweaking Powerpoints and Tshirt designs have gone into 3D animation or computer graphic design. And yours truly MAY have turned in a final paper analyzing potential uses for robots that could create their own languages after researching this. I really should post it here if I can find it.)


5. 3D Printing
I have never had the opportunity to use a 3D printer, and I could not be more excited to learn. That's why this unit is last - I know the least about it, and I need that time to learn. I'm planning on getting the Printrbot kit, and using Google Sketchup and Autodesk inventor to do the modeling, since our school system already has that software.


These are the things we decided would be the most useful. I've said before that you don't need expensive tools to make a Makerspace, and I stand by that statement. But good tools make making more accessible, and especially in a school setting, that's important. And tools cost money.
About $1,300 worth of money, not counting shipping or storage.

I'm looking at a couple different ways of doing money-earning.  For the more expensive kits, I've talked to my sponsor about using DonorsChoose. It seems like a great program, and I'd appreciate the help in offsetting the cost. However, with finals rapidly approaching, we haven't had the chance to talk to the school administration yet. So I've started with some simpler money-earning opportunities. Right now, I'm creating kits for making small light up ornaments to teach younger kids about the basics of circuitry. The kits would also be good for making a string of lights, good for teaching Parallel vs. Series. Plus, who doesn't love holiday themed illumination? Here's a picture of the prototype. I'll be posting a tutorial soon.


I'm selling the kits to local scout troops as an end of year craft project and my goal is to raise about $100 to start off with.

And finally, while I can't expect to rely on donations, I had the opportunity over Thanksgiving break to collect some of my great-grandfather's old tools for use in the Makerspace, which I cleaned up and labeled.


It wasn't anything too fancy - just screwdrivers, wrenches, a level, things that would be useful for building or disassembling small projects. But that toolbox has officially become the first thing in the Makerspace.


It's a long road ahead, but we have a plan. Let the making commence!

PS: One last thing. One of our main concerns with the technology club is the participation of girls. I was one of two girls out of about fifteen people at the clubs inception, a ratio that improved a little  the next year, I suspect because both of us were so active in the club. Now, she's actually come back to help with my project. But we still see the same problem. There were only two girls at the meeting and about twenty boys. Do any of you have suggestions for getting more girls involved? 

Monday, November 24, 2014

Super Secret Special Project: Makerspace!: A Long Introduction.


I've finally caught up with my teasers! I've been pretty busy with school, scouts, other projects, and, yes, my Gold Award project, where I'm hoping to build a Makerspace at my old middle school!

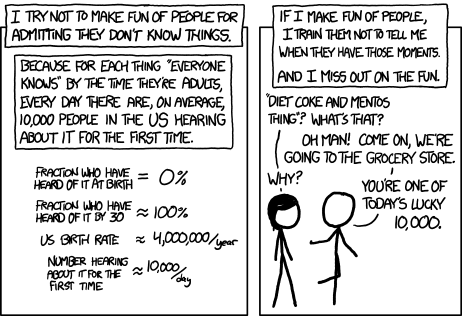
Note: For the uninitiated (credit xkcd)...


A Makerspace, Hackerspace, FabLab, Techshop, etc... is a space devoted to providing materials, instruction, and community to anyone interested in creating. It goes hand in hand with movements like OpenSource, STEAM education, and free information. A Makerspace wants everyone to be able to make, and to find other people who make.

To give a little background - my middle school librarian was an awesome teacher, interested in sharing information, technology, and connection through the library. She started the technology club my first year at our school, where teachers could come and talk about the technology they wanted to use in the classroom (e.g. Google Earth Tours, iPod touches, online video-editing software, etc) and it was up to us to A) figure out how to use the technology, and B) teach the teachers once we figured it out. The club was only the beginning. By the end of the year, 13 of us were enrolled in the Independent Study Tech Team class, taught in the library, by the librarian, for an entire class period each day. The teacher brought some brilliant ideas to the class: 20% time, bringing in projects from other classes to try out the technology, etc. It was basically a maker class! The only thing we lacked was materials.


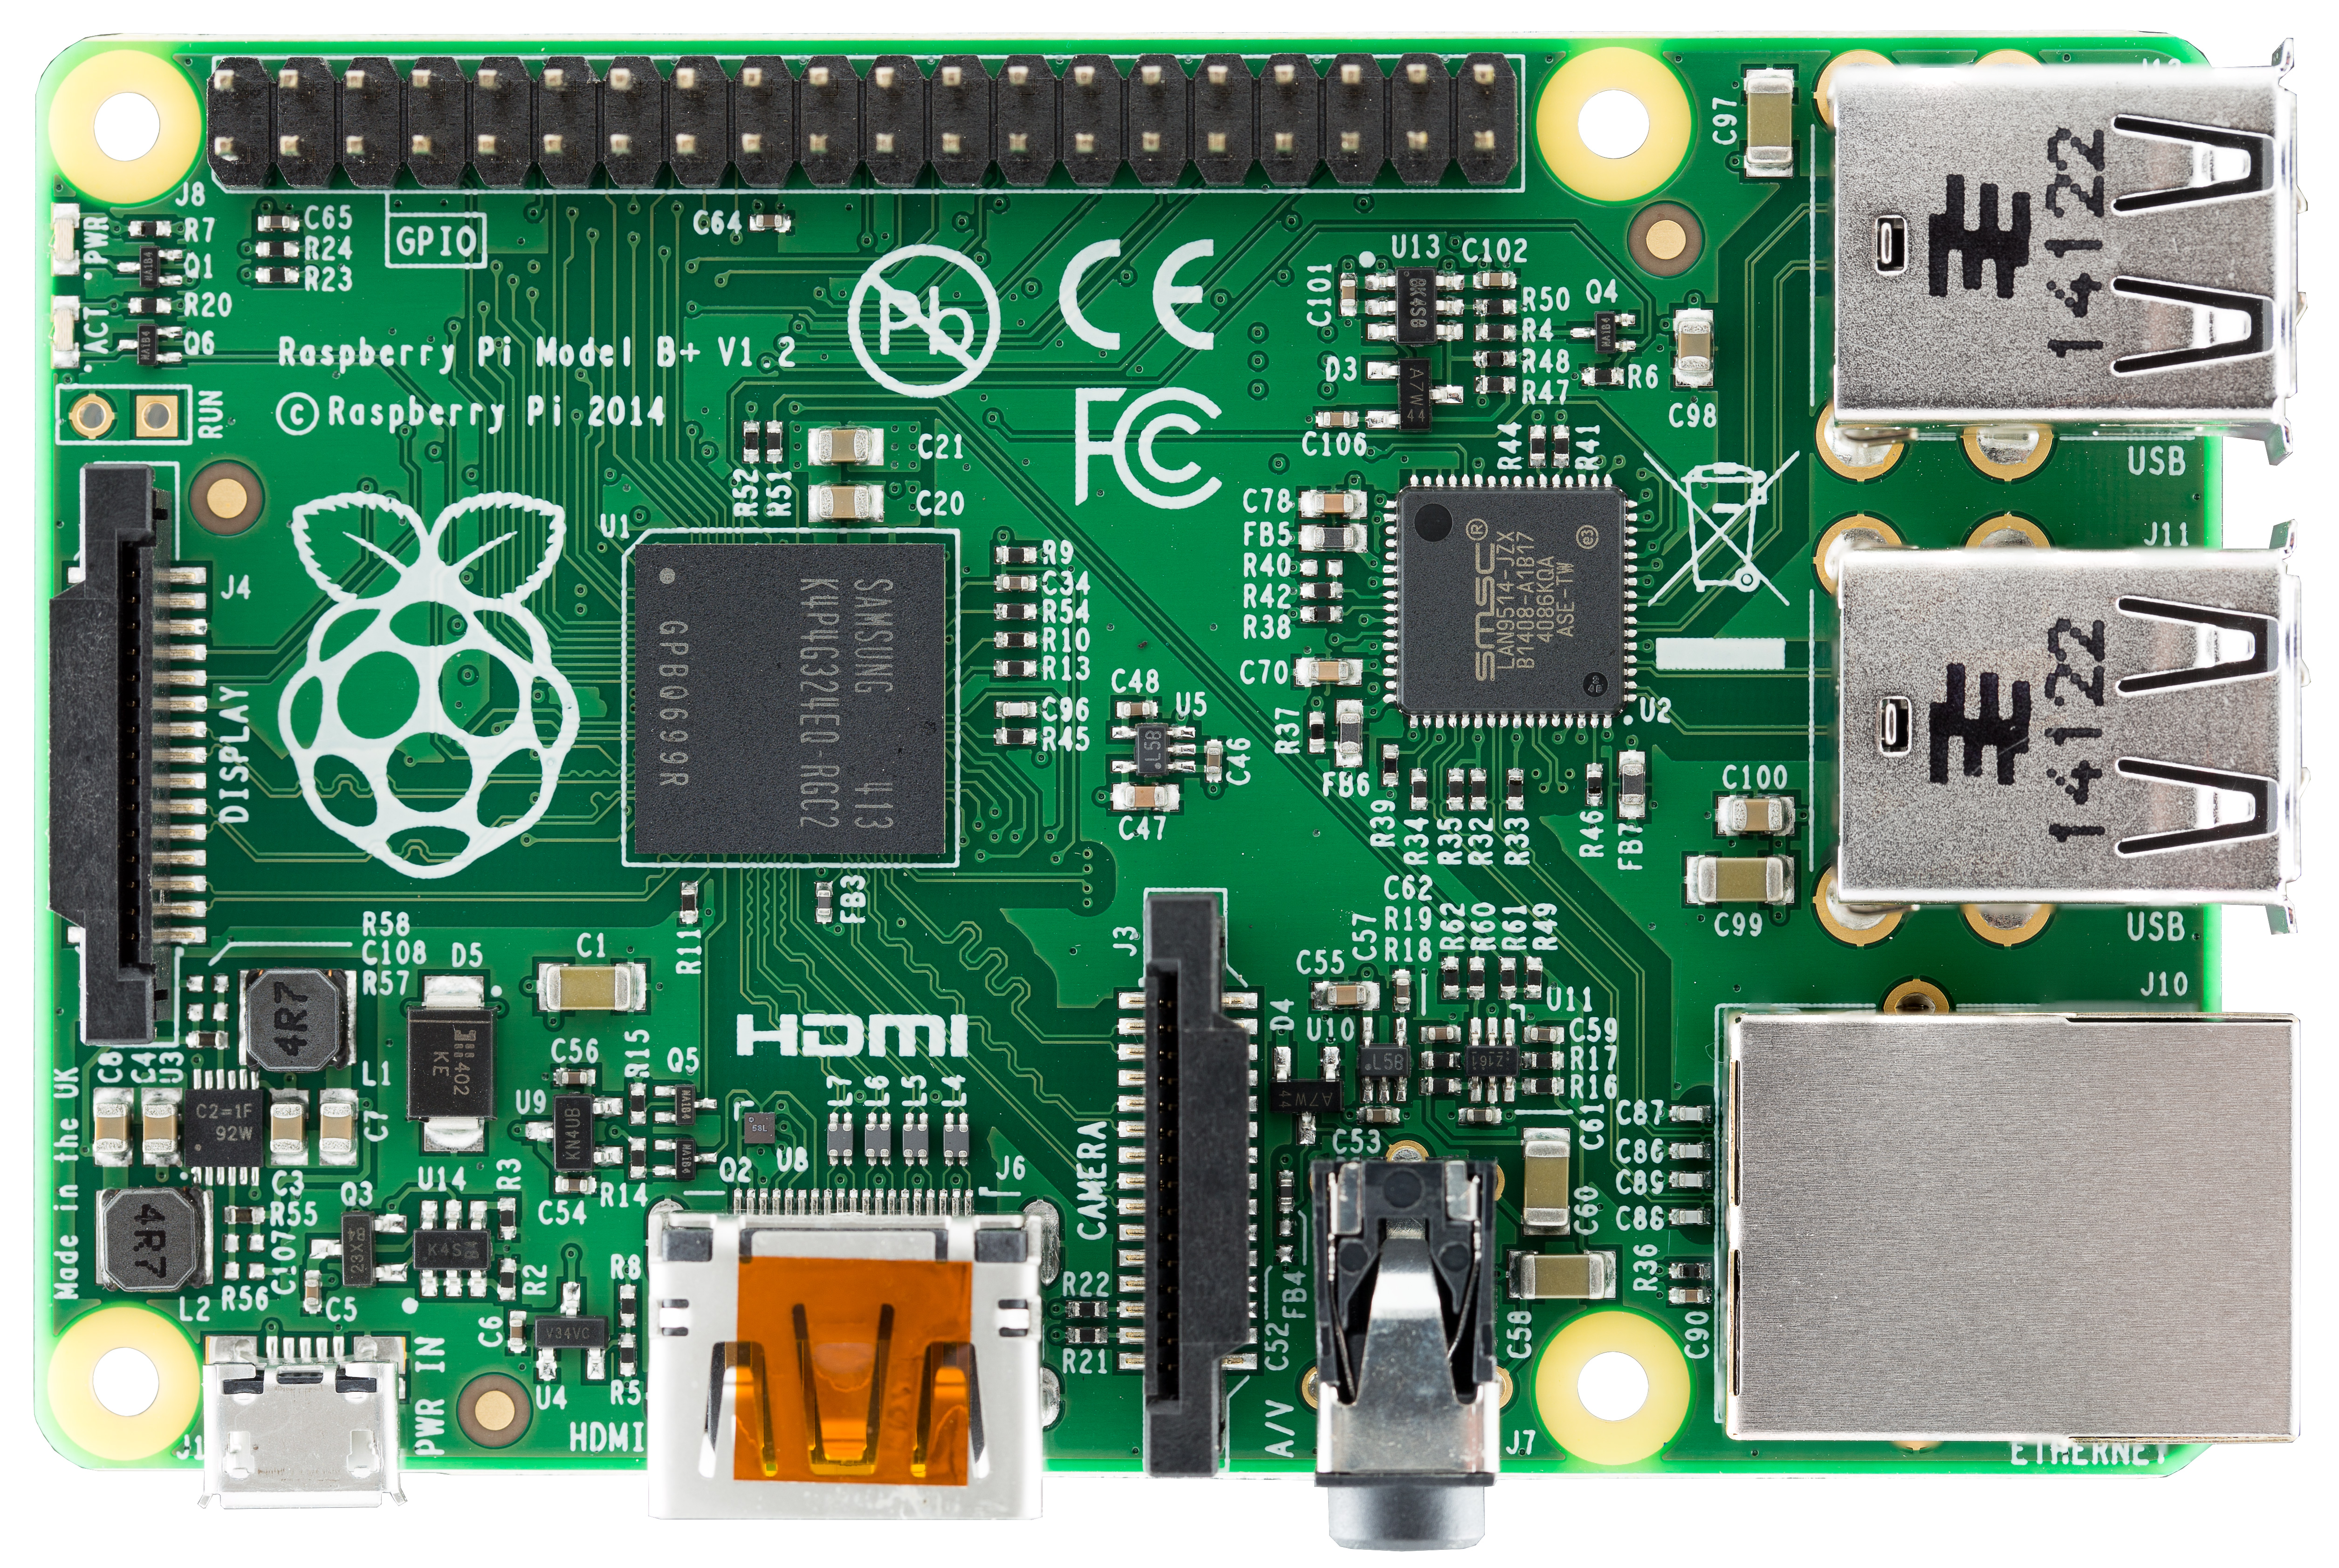
In the library, we had three things we could work on: Software on the computers (the basics of Windows 7 plus a few class specific things, like Alice), thirty-something iPod touches we rented out to classes, and books. This was a great starting point, but I kept having to bring in my own materials for 20% time to feed my interest in robotics and programming. The teacher introduced me to the idea of a Makerspace my eighth grade year, and the more research I did the more I liked it. The materials I've collected are important to the kinds of projects I get to do - I hate the idea that another kid somewhere won't get to learn about robotics because they don't have access to a mindstorms, or an arduino to learn on.

Ninth grade taught me how useful a Makerspace could be. If you've even taken just a quick look at this blog, you can see I took Tech Theatre, and made full use of the workshop we had available. That workshop is my favorite place in the entire school, because it has everything you need to bring a design to life. Tech Theatre may not be a class devoted to engineering, but I feel that, because of the workshop, and because of the self driven nature of the class and the projects, it does a better job of teaching problem solving, design, and engineering skills than the note-and-test heavy engineering-specific class I took.


I decided to try and find a nearby Makerspace - it turns out the nearest is an hour's round trip from my house. I got a tour to see how the space functioned. It was REALLY cool, but I noticed that it was definitely geared more toward the adult, experienced engineer in price range, classes and tools available, and supervision. That wasn't quite what I was looking for, so I contacted my old librarian to ask her thoughts on creating a Makerspace in Plano... and a few weeks later, she's my Gold Award Project Advisor,  I've sent a powerpoint proposal to the principal of the school, and I'm prepping one to send to my local public libraries! (See the powerpoint here, if you're interested)


What's the plan? Well, the main issue is cost. I spent a long time looking up the costs of materials I'd like to include, and, to say the least, cost was high. I'm planning on organizing a tool drive to try and get some of the cheaper items, like paintbrushes and screwdrivers, old toys to take apart, Ewaste, and the like. Some of the rest will be funded by club member fees, but for a lot of it I'm looking at funding online through Donorschoose.org, or something similar.


Another constraint is space. The area we're looking at converting is currently storage for books that get lent out in English classes for reading assignments. We get a grand total of one bookshelf for storage, so we'll have to use it wisely. This is a real model of the space I made in Sketchup. I'm betting the Technology club will be happy to have it. Right now, I'm still waiting on the final green light from the principal, which will hopefully come in the next couple of weeks. Then I can turn in my paperwork, and get the ball rolling! Expect to see more about this soon, and all the little mini-projects it entails.

(NOTE: I'm going to publish this as is, but it's a little outdated now. I've since had my project fully approved, and the first meeting with the students will be next week! I even had the chance to talk about my project at the Girl Scout Leadership Institute at this year's national convention. I'm super excited to get started. If any of you have ideas for fundraising, or know of good projects or resources for a middle school Makerspace, please comment below! I'd love to hear what you think.)

Sunday, September 21, 2014

The Theatre Tech Magnetic Survival Bracelet

I'm a sucker for simple solutions for even the most superficial problems, so when I saw this magnetic bracelet for holding screws and nails during projects, I was sold from the start. But I needed something before I had to go work at the Children's theatre the next night (summer jobs, guys). Plus, that bracelet looked heavy, slippery, and easily scratched up. So I made a quick raid through my craft box, and ended up with The Theatre Tech's Paracord Survival Bracelet.


Pretty sweet, right? And it's magnetic enough to hold even 3in  screws in place while you walk around. 


Here's what you'll need:

Paracord (Measure around your wrist in inches, taking into account the fit you want, and, for this project, add an inch. Cut a foot of paracord for each inch. Ex. If your wrist was 8 in in diameter, you should cut 9 feet of paracord) Pick a color that makes you happy!


A Side Release Buckle (Mine was cut off an old backpack, wider is better for this project)

8-10 STRONG Bar Magnets, about an inch long each.
And your tools:

Hot glue (optional, but recommended)

A pair of scissors

A lighter or match

Measuring tape or ribbon

Start your bracelet like you would any other paracord bracelet, with two big exceptions:
1. Remember, when you measure your wrist, before you start cutting your paracord, add one inch. This will give you enough material in the bracelet to cover the magnets, and still have it fit around your wrist.
2. Lay your paracord flat on the table, instead of suspending it. This will make adding the magnets infinitely easier.
Stop once you have tied the first knot of Step 3 of this tutorial, or, if you're a paracord veteran who doesn't need it, once you've tied the first know between the buckles.
 Here's the tutorial I used: https://www.operationgratitude.com/wp-content/uploads/2011/04/HowtoMakeaParacordSurvivalBracelet.pdf

Once you've got it started, take your first bar magnet. You want to push it between the two strings in the center of your bracelet that you're tying knots around. You can hot glue it in place, if that makes it easier to hold. Then, continue knots over both strings and the magnet. The strings should end up on either side of the bar magnet, with the knots holding the whole thing together.


When it looks like you've only got one knot left on a magnet, slide in the next magnet right below it, and keep tying. Don't worry if you run out of space for magnets. Just continue tying over the string until you reach the end, then finish like any other paracord bracelet.

If you want, you can also add a magnet to back of the buckle like I did, but, at least for me, it was more of a hindrance than a help. The paracord keeps the magnets from getting scratched, but it's not thick enough to negate the magnetic effect. It's heavy, but not too heavy. And it's definitely been helpful for keeping screws on hand when I need them, while not letting me take them home in my pocket. It's definitely an accessory I'll keep on wrist when I need it.

Sunday, April 27, 2014

Make a Heated Cat Hammock

This was a quick weekend project I whipped together for my cat, who's gotten more arthritic and ornery the older she gets. She took up the habit of lying on my Mom's heated throw blanket and biting people whenever we moved her, so I built this as a peace offering.


Parts:

Four 1/2" Dowels, cut to 8" long
One 15" diameter round wood thing
Two approx 18" squares of fleece
A heating pad
Four 1" screws
A screwdriver
A drill
A 1/2" drill bit
Power

Instructions:

First drill the four holes into the base of the hammock. Each hole should be about 1.5" away from the edge of the base, and should make a square as shown. Drill in at an ANGLE of about  60 degrees, and stop when you hit the bottom.

Next go ahead and attach a screw into each dowel. The screw should stick out about a half inch , so that it can be used to mount the hammock. I place my screws about 3/4" down the dowel, but it can be moved up for larger cats or down for smaller ones, so long as each screw is about the same height on the dowel.


Next slide the dowels into the base. You can use glue if you want, but I found that mine didn't need it. Make sure that the screws face away from the base.

Cut strips about 1" wide and 2" long down each side of your fleece squares. Line them up and knot them together on three sides, pretty side out. If you're having trouble, look at these instructions.

Slip the heating pad through the remaining open side. I had to fold mine in half. Make sure the power cord is still accessible, then knot the remaining side closed. Mount the hammock by slipping one corner knot over each dowel. You may have to stretch the fleece to do this. The knot will stop sliding at the screw, so that your heated cat hammock sits suspended and comfy.


If I come back to this project later, I think I'll add a primitive pressure sensor and wire it to a relay, so that I don't have to turn on the heating pad when the cats climb in - it'll turn on all by itself. To do that, though. I would need a different heating pad, or I'd just need to rewire the controls on this one, which requires you to press a button to turn on.  


Here's a picture of the wrong cat, Nicodemus, sleeping in the hammock to spite his sister.


And this is Skitty, who wouldn't climb in until I put her there, and wouldn't leave once I did. You're welcome.