

Pretty sweet, right? And it's magnetic enough to hold even 3in screws in place while you walk around.
Here's what you'll need:
Paracord (Measure around your wrist in inches, taking into account the fit you want, and, for this project, add an inch. Cut a foot of paracord for each inch. Ex. If your wrist was 8 in in diameter, you should cut 9 feet of paracord) Pick a color that makes you happy!

A Side Release Buckle (Mine was cut off an old backpack, wider is better for this project)

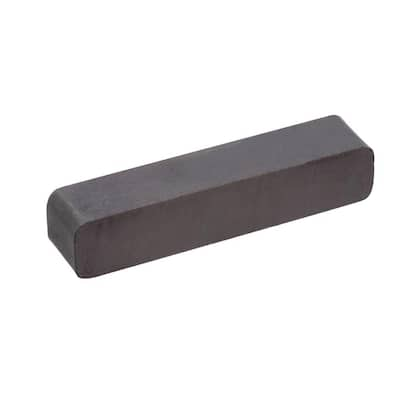
8-10 STRONG Bar Magnets, about an inch long each.
Hot glue (optional, but recommended)
A pair of scissors
A lighter or match
Measuring tape or ribbon
Measuring tape or ribbon
Start your bracelet like you would any other paracord bracelet, with two big exceptions:
1. Remember, when you measure your wrist, before you start cutting your paracord, add one inch. This will give you enough material in the bracelet to cover the magnets, and still have it fit around your wrist.
2. Lay your paracord flat on the table, instead of suspending it. This will make adding the magnets infinitely easier.
Stop once you have tied the first knot of Step 3 of this tutorial, or, if you're a paracord veteran who doesn't need it, once you've tied the first know between the buckles.
Here's the tutorial I used: https://www.operationgratitude.com/wp-content/uploads/2011/04/HowtoMakeaParacordSurvivalBracelet.pdf
Once you've got it started, take your first bar magnet. You want to push it between the two strings in the center of your bracelet that you're tying knots around. You can hot glue it in place, if that makes it easier to hold. Then, continue knots over both strings and the magnet. The strings should end up on either side of the bar magnet, with the knots holding the whole thing together.

If you want, you can also add a magnet to back of the buckle like I did, but, at least for me, it was more of a hindrance than a help. The paracord keeps the magnets from getting scratched, but it's not thick enough to negate the magnetic effect. It's heavy, but not too heavy. And it's definitely been helpful for keeping screws on hand when I need them, while not letting me take them home in my pocket. It's definitely an accessory I'll keep on wrist when I need it.
No comments:
Post a Comment