 |
| Good movie... but it was no Wreck-it-Ralph. |
At the end of the meeting, I had ever student write down on their slip of paper the top ten things they wanted to be able to make/learn in the technology club. Over the weekend, I looked through all the answers I got, and came up with the five main units that would be the most useful and interesting to kick off the Makerspace and the Tech Club. The Technology club has two types of meetings - "Class" meetings, which teach skills like the one's seen below, and "Business" meetings, where we'd focus more on the Makerspace itself, and where members would have time to share the projects they've been working on (THAT is for a different post). But the introductory skills are important for the students with little or no experience. So here's what I've put together:

1. Programming
This is the obvious one, but I've put it as the first unit because it's a vital skill so many of the other projects the students were interested in, and because it doesn't require expensive materials. I'm working on lesson plans for a programming intro class for Scratch, which will hopefully give enough of an introduction that the students will feel comfortable working on Codecademy tutorials or learning from other online resources

2. Robotics
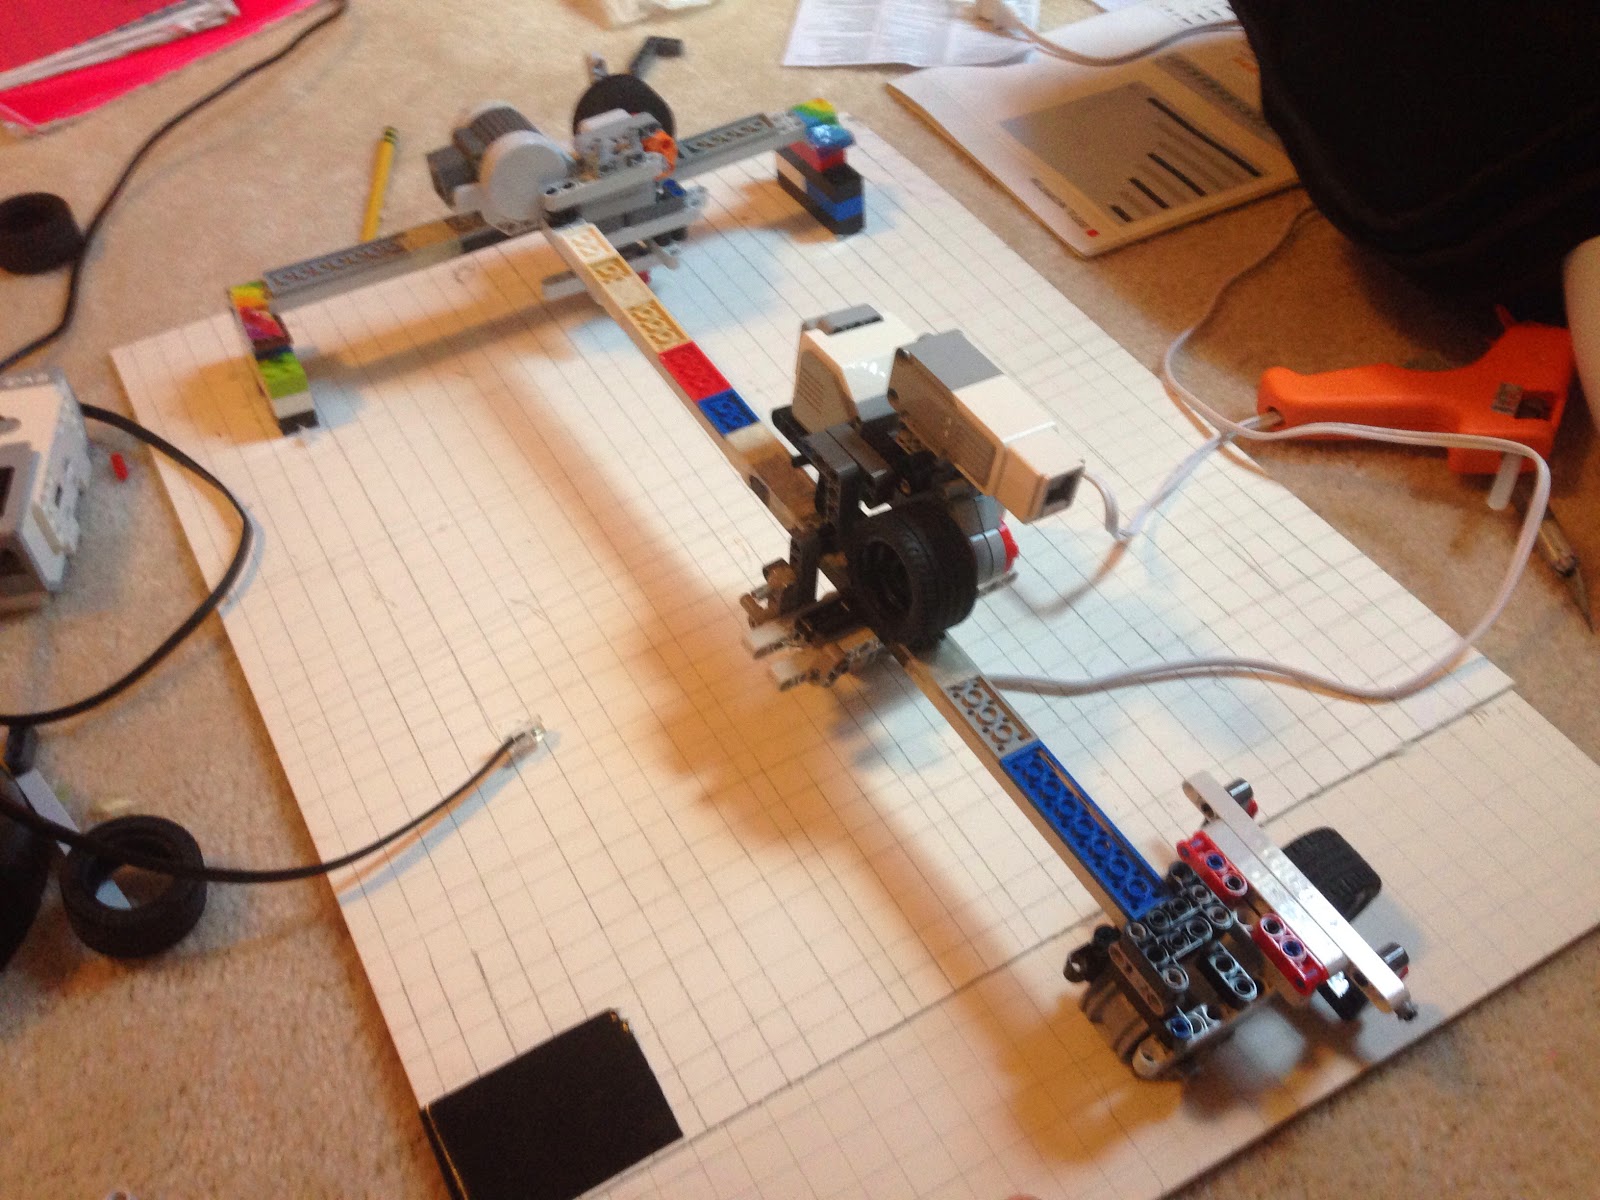
These kids love robotics almost as much as I do. The issue here is limited time and materials. I'm planning on doing two classes with Mindstorms Ev3 - one for building, one for programming. I'd also like to incorporate robotics into an Arduino introduction later on - I have an RC car that I robotized with an Arduino that would make a good example.

3. Circuitry
While I'd actually prefer this unit before robotics, the littleBits are one of the more expensive items in the budget, and, while I have an Ev3 kit at home that I could bring as an example, the same isn't true here.

4. Computers
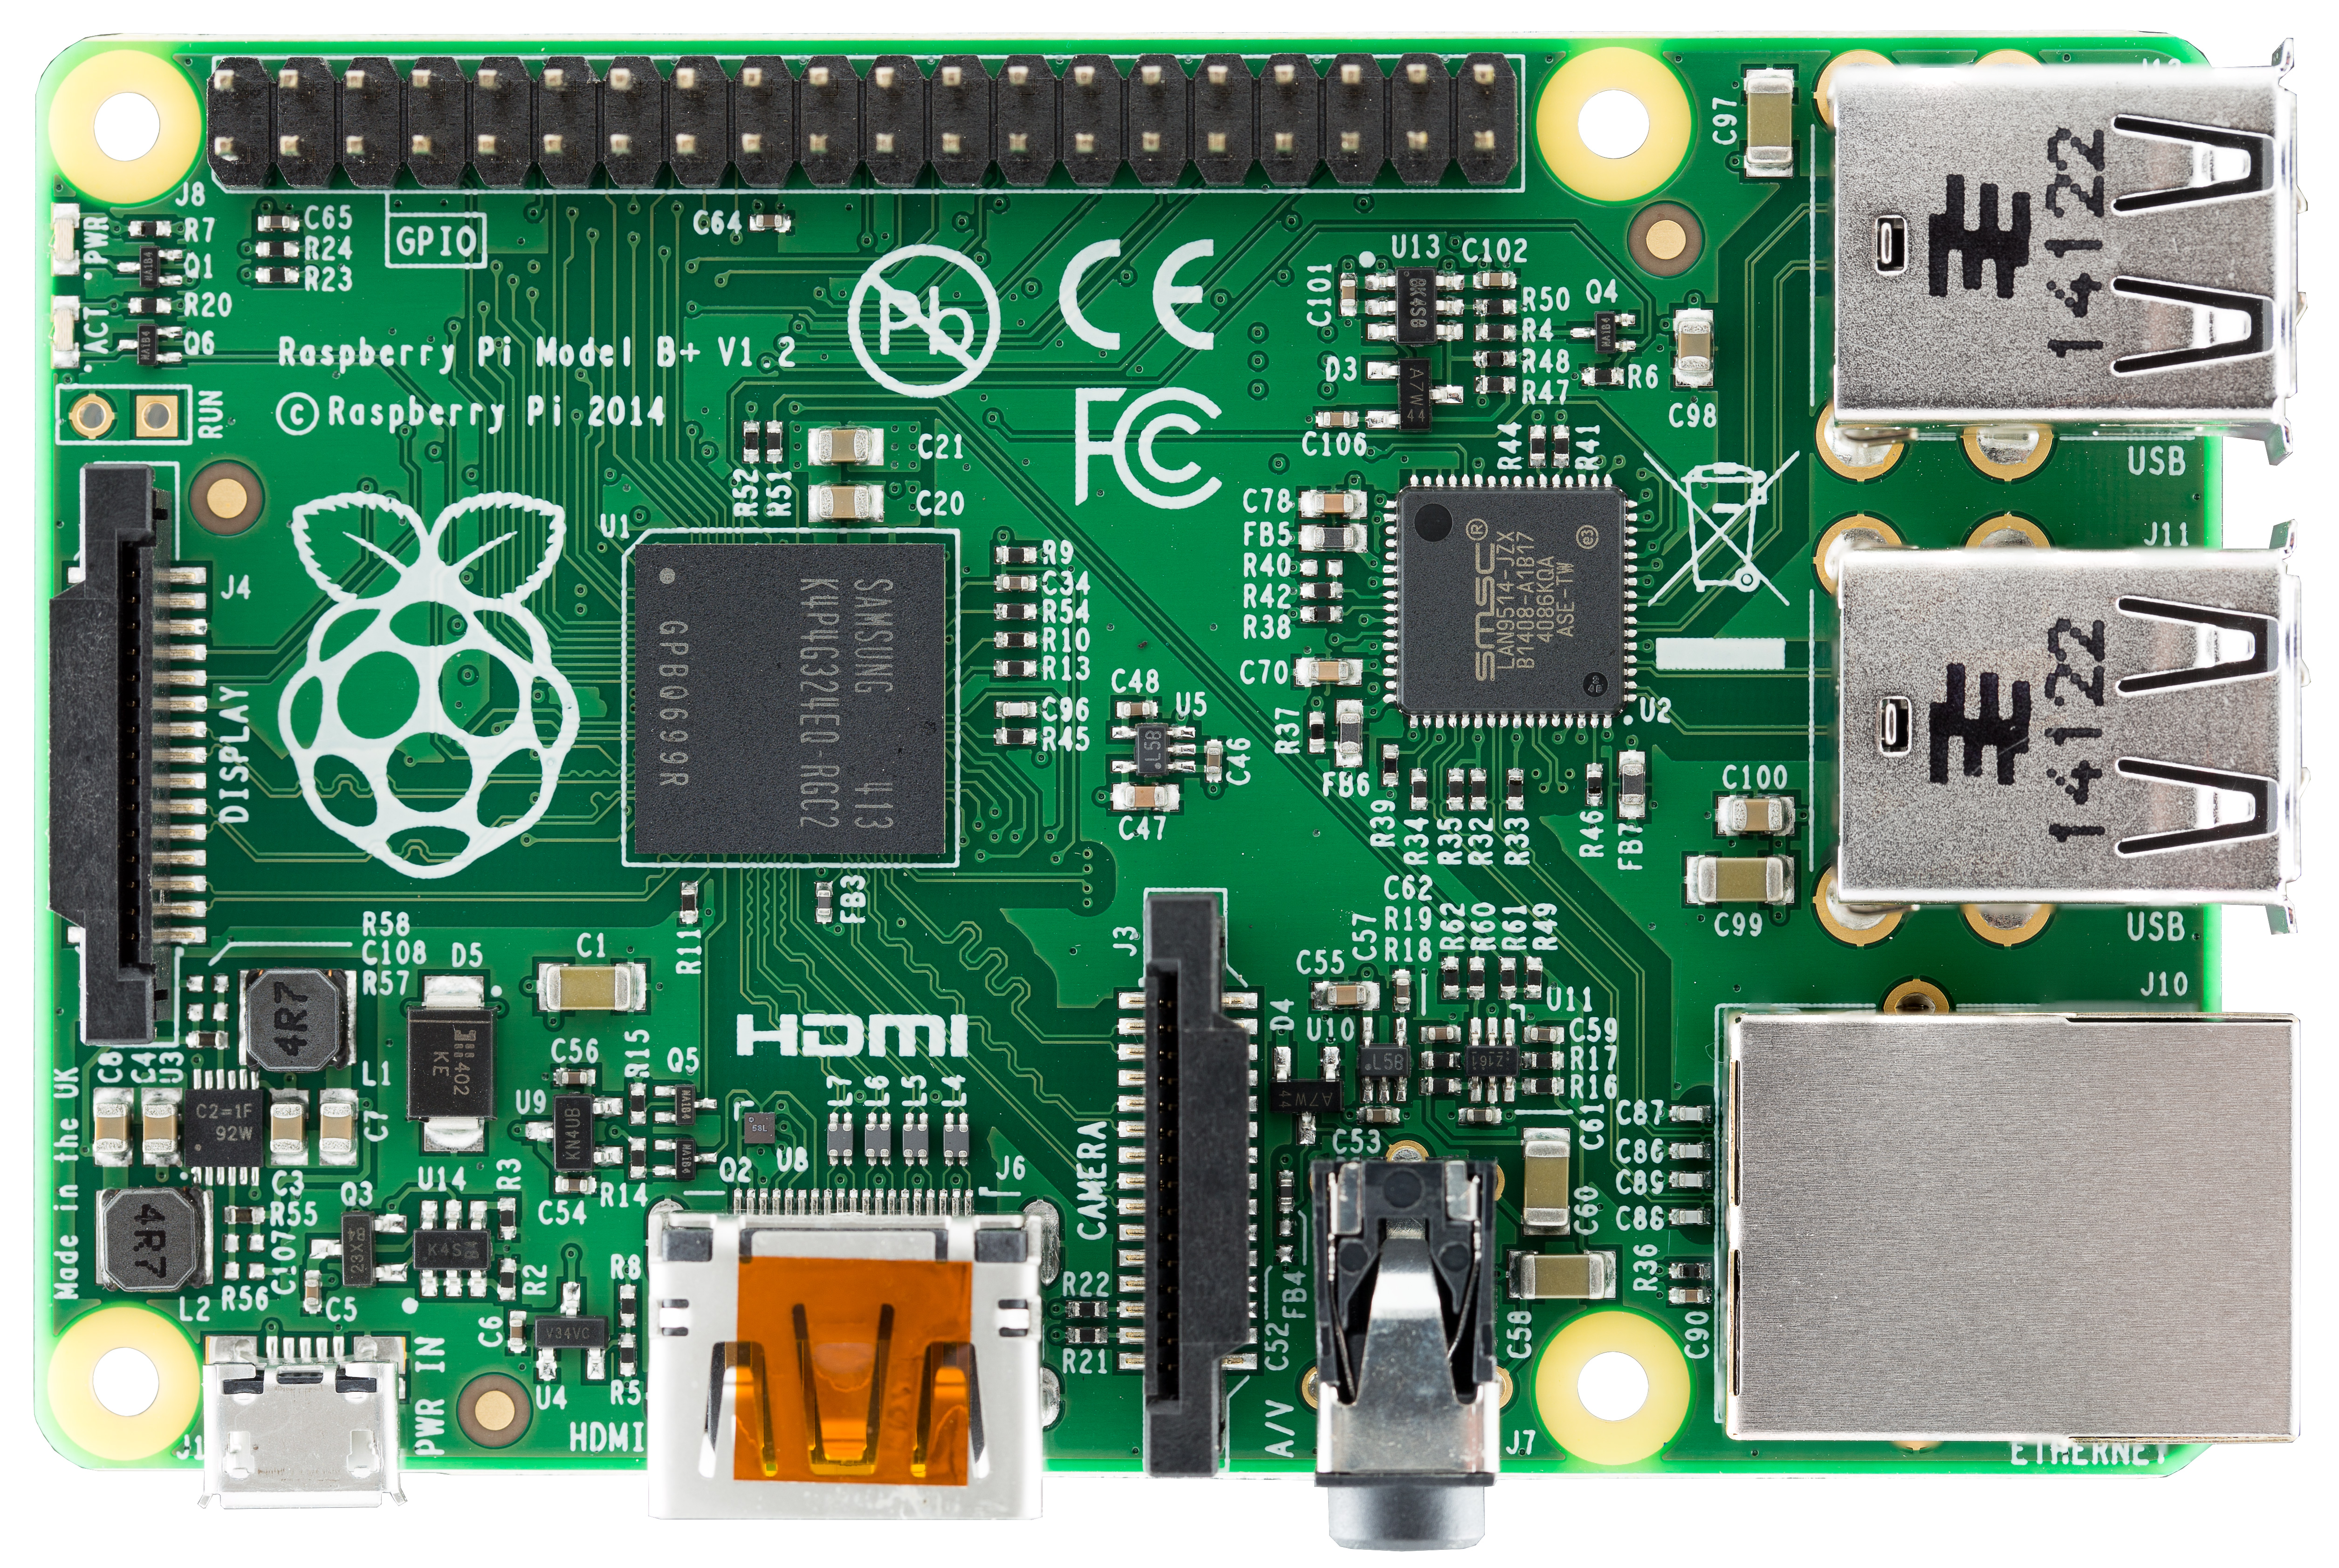
This is kind of a catch-all unit. Here I definitely want to have a class on the Raspberry Pi, but I also want to bring in some of the other Technology Club Alumni to teach classes on things I'm not as familiar with, like App programming and Web Design. (It's interesting to see how our individual interests were foreshadowed through Tech Club and the technology class. The ones who spent all their time on the iPod touches now program them, the ones who spent all their time tweaking Powerpoints and Tshirt designs have gone into 3D animation or computer graphic design. And yours truly MAY have turned in a final paper analyzing potential uses for robots that could create their own languages after researching this. I really should post it here if I can find it.)

5. 3D Printing
I have never had the opportunity to use a 3D printer, and I could not be more excited to learn. That's why this unit is last - I know the least about it, and I need that time to learn. I'm planning on getting the Printrbot kit, and using Google Sketchup and Autodesk inventor to do the modeling, since our school system already has that software.

These are the things we decided would be the most useful. I've said before that you don't need expensive tools to make a Makerspace, and I stand by that statement. But good tools make making more accessible, and especially in a school setting, that's important. And tools cost money.
About $1,300 worth of money, not counting shipping or storage.
I'm looking at a couple different ways of doing money-earning. For the more expensive kits, I've talked to my sponsor about using DonorsChoose. It seems like a great program, and I'd appreciate the help in offsetting the cost. However, with finals rapidly approaching, we haven't had the chance to talk to the school administration yet. So I've started with some simpler money-earning opportunities. Right now, I'm creating kits for making small light up ornaments to teach younger kids about the basics of circuitry. The kits would also be good for making a string of lights, good for teaching Parallel vs. Series. Plus, who doesn't love holiday themed illumination? Here's a picture of the prototype. I'll be posting a tutorial soon.

I'm selling the kits to local scout troops as an end of year craft project and my goal is to raise about $100 to start off with.
And finally, while I can't expect to rely on donations, I had the opportunity over Thanksgiving break to collect some of my great-grandfather's old tools for use in the Makerspace, which I cleaned up and labeled.

It wasn't anything too fancy - just screwdrivers, wrenches, a level, things that would be useful for building or disassembling small projects. But that toolbox has officially become the first thing in the Makerspace.

It's a long road ahead, but we have a plan. Let the making commence!
PS: One last thing. One of our main concerns with the technology club is the participation of girls. I was one of two girls out of about fifteen people at the clubs inception, a ratio that improved a little the next year, I suspect because both of us were so active in the club. Now, she's actually come back to help with my project. But we still see the same problem. There were only two girls at the meeting and about twenty boys. Do any of you have suggestions for getting more girls involved?

2. Robotics
These kids love robotics almost as much as I do. The issue here is limited time and materials. I'm planning on doing two classes with Mindstorms Ev3 - one for building, one for programming. I'd also like to incorporate robotics into an Arduino introduction later on - I have an RC car that I robotized with an Arduino that would make a good example.

3. Circuitry
While I'd actually prefer this unit before robotics, the littleBits are one of the more expensive items in the budget, and, while I have an Ev3 kit at home that I could bring as an example, the same isn't true here.
4. Computers
This is kind of a catch-all unit. Here I definitely want to have a class on the Raspberry Pi, but I also want to bring in some of the other Technology Club Alumni to teach classes on things I'm not as familiar with, like App programming and Web Design. (It's interesting to see how our individual interests were foreshadowed through Tech Club and the technology class. The ones who spent all their time on the iPod touches now program them, the ones who spent all their time tweaking Powerpoints and Tshirt designs have gone into 3D animation or computer graphic design. And yours truly MAY have turned in a final paper analyzing potential uses for robots that could create their own languages after researching this. I really should post it here if I can find it.)

5. 3D Printing
I have never had the opportunity to use a 3D printer, and I could not be more excited to learn. That's why this unit is last - I know the least about it, and I need that time to learn. I'm planning on getting the Printrbot kit, and using Google Sketchup and Autodesk inventor to do the modeling, since our school system already has that software.
These are the things we decided would be the most useful. I've said before that you don't need expensive tools to make a Makerspace, and I stand by that statement. But good tools make making more accessible, and especially in a school setting, that's important. And tools cost money.
I'm looking at a couple different ways of doing money-earning. For the more expensive kits, I've talked to my sponsor about using DonorsChoose. It seems like a great program, and I'd appreciate the help in offsetting the cost. However, with finals rapidly approaching, we haven't had the chance to talk to the school administration yet. So I've started with some simpler money-earning opportunities. Right now, I'm creating kits for making small light up ornaments to teach younger kids about the basics of circuitry. The kits would also be good for making a string of lights, good for teaching Parallel vs. Series. Plus, who doesn't love holiday themed illumination? Here's a picture of the prototype. I'll be posting a tutorial soon.
I'm selling the kits to local scout troops as an end of year craft project and my goal is to raise about $100 to start off with.
And finally, while I can't expect to rely on donations, I had the opportunity over Thanksgiving break to collect some of my great-grandfather's old tools for use in the Makerspace, which I cleaned up and labeled.
It wasn't anything too fancy - just screwdrivers, wrenches, a level, things that would be useful for building or disassembling small projects. But that toolbox has officially become the first thing in the Makerspace.
It's a long road ahead, but we have a plan. Let the making commence!
PS: One last thing. One of our main concerns with the technology club is the participation of girls. I was one of two girls out of about fifteen people at the clubs inception, a ratio that improved a little the next year, I suspect because both of us were so active in the club. Now, she's actually come back to help with my project. But we still see the same problem. There were only two girls at the meeting and about twenty boys. Do any of you have suggestions for getting more girls involved?