As a programmer and a maker, I think it's important to understand how computers work on all levels. I'm incredibly jealous of people who can build computers in games like Little Big Planet or Minecraft, because it's something I'd love to learn how to do. My dad showed me this book, and we decided to work through it together.
Even though you might worry that the information might be a little dated, coming all the way from 2005, the information is fundamental in a way that hasn't changed yet. Each chapter is divided up into various sections that will give you background information you need to complete the 'project' at the end of each chapter. The end result is using a chip design software that comes bundled with the book to build your own computer and use a higher-level language to program a game on it.
The first chapter introduces logic gates. I cannot stress enough how useful the background information is. As someone whose only experience with logic gates has been basic redstone built circuits in mine craft a year ago, and who's only taken programming courses through week long camps or online that don't delve into hardware at all, the information was invaluable. It was easy to read, although I'd recommend having wikipedia ready to clear up any misunderstandings if you aren't familiar with some of the terminology.
The chapter ends by asking you to design each of the basic chips it mentioned (AND, OR, XOR, etc.) in the bundled software design program using only NAND gates. It gives you a short hint as to making each one, which pretty much boils down to HINT: READ THE BACKGROUND INFORMATION ALREADY. Using the design program is simple enough. Each chip you have to design comes with three files: .hdl, the actual chip, .tst, the test script for that chip, and .cmp, the logic table the test script uses to test the chip. The test and logic table scripts come premade, but you have to drag the .hdl file to Textmate, or whatever you use, to program in the chip using their Hardware Development Language. It's very simple to learn, especially if you're used to programming.
Here's the kicker: Once you've programmed and tested a chip, if it works, you can use it in building other chips. For example, if you've successfully made your AND chip, you can use it directly in your OR chip instead of having to use two NANDs all over again. It gives you a feeling of building up your computer that's very satisfying.
Bonus: If you just aren't getting it with the programming language, you can always build a bunch of nand gates in mine craft and go from there.
I certainly liked this course enough to move on to chapter two. It does a great job of teaching, and even if the projects can be difficult, the give me a sense of accomplishment and understanding. But if you don't know anything about programming, try a programming 101 course first. It will help you have an easier time with the terminology and the design software when you get into the real meat of things
Sunday, April 27, 2014
Make a Heated Cat Hammock
This was a quick weekend project I whipped together for my cat, who's gotten more arthritic and ornery the older she gets. She took up the habit of lying on my Mom's heated throw blanket and biting people whenever we moved her, so I built this as a peace offering.


Parts:
Four 1/2" Dowels, cut to 8" long
One 15" diameter round wood thing
Two approx 18" squares of fleece
A heating pad
Four 1" screws
A screwdriver
A drill
A 1/2" drill bit
Power
Instructions:
First drill the four holes into the base of the hammock. Each hole should be about 1.5" away from the edge of the base, and should make a square as shown. Drill in at an ANGLE of about 60 degrees, and stop when you hit the bottom.
Next go ahead and attach a screw into each dowel. The screw should stick out about a half inch , so that it can be used to mount the hammock. I place my screws about 3/4" down the dowel, but it can be moved up for larger cats or down for smaller ones, so long as each screw is about the same height on the dowel.
Next slide the dowels into the base. You can use glue if you want, but I found that mine didn't need it. Make sure that the screws face away from the base.
Cut strips about 1" wide and 2" long down each side of your fleece squares. Line them up and knot them together on three sides, pretty side out. If you're having trouble, look at these instructions.
Slip the heating pad through the remaining open side. I had to fold mine in half. Make sure the power cord is still accessible, then knot the remaining side closed. Mount the hammock by slipping one corner knot over each dowel. You may have to stretch the fleece to do this. The knot will stop sliding at the screw, so that your heated cat hammock sits suspended and comfy.
If I come back to this project later, I think I'll add a primitive pressure sensor and wire it to a relay, so that I don't have to turn on the heating pad when the cats climb in - it'll turn on all by itself. To do that, though. I would need a different heating pad, or I'd just need to rewire the controls on this one, which requires you to press a button to turn on.
Here's a picture of the wrong cat, Nicodemus, sleeping in the hammock to spite his sister.
And this is Skitty, who wouldn't climb in until I put her there, and wouldn't leave once I did. You're welcome.
Sunday, April 13, 2014
Project: Set Design for Beauty and the Beast
I had a pretty impressive delay on starting this blog, and you can blame a fair mixture of social anxiety and high school theatre tech for that. My school doesn't have a whole lot of project based classes in it, but I go crazy if I spend all day doing reading assignments, so BAM, theatre crew.
This turned out to be a great choice for my mental health, but not so much for my free time.
I worked two shows (for a later post!) as well as taking the class. The director had decided that for our final show, we were gonna go with Beauty and the Beast. The Disney version. The Full version.
I was picked as one of eleven crew heads out of twenty-something crew, at which point I realized what I had gotten myself into.
Here's a rundown of what's taken over my last three months.
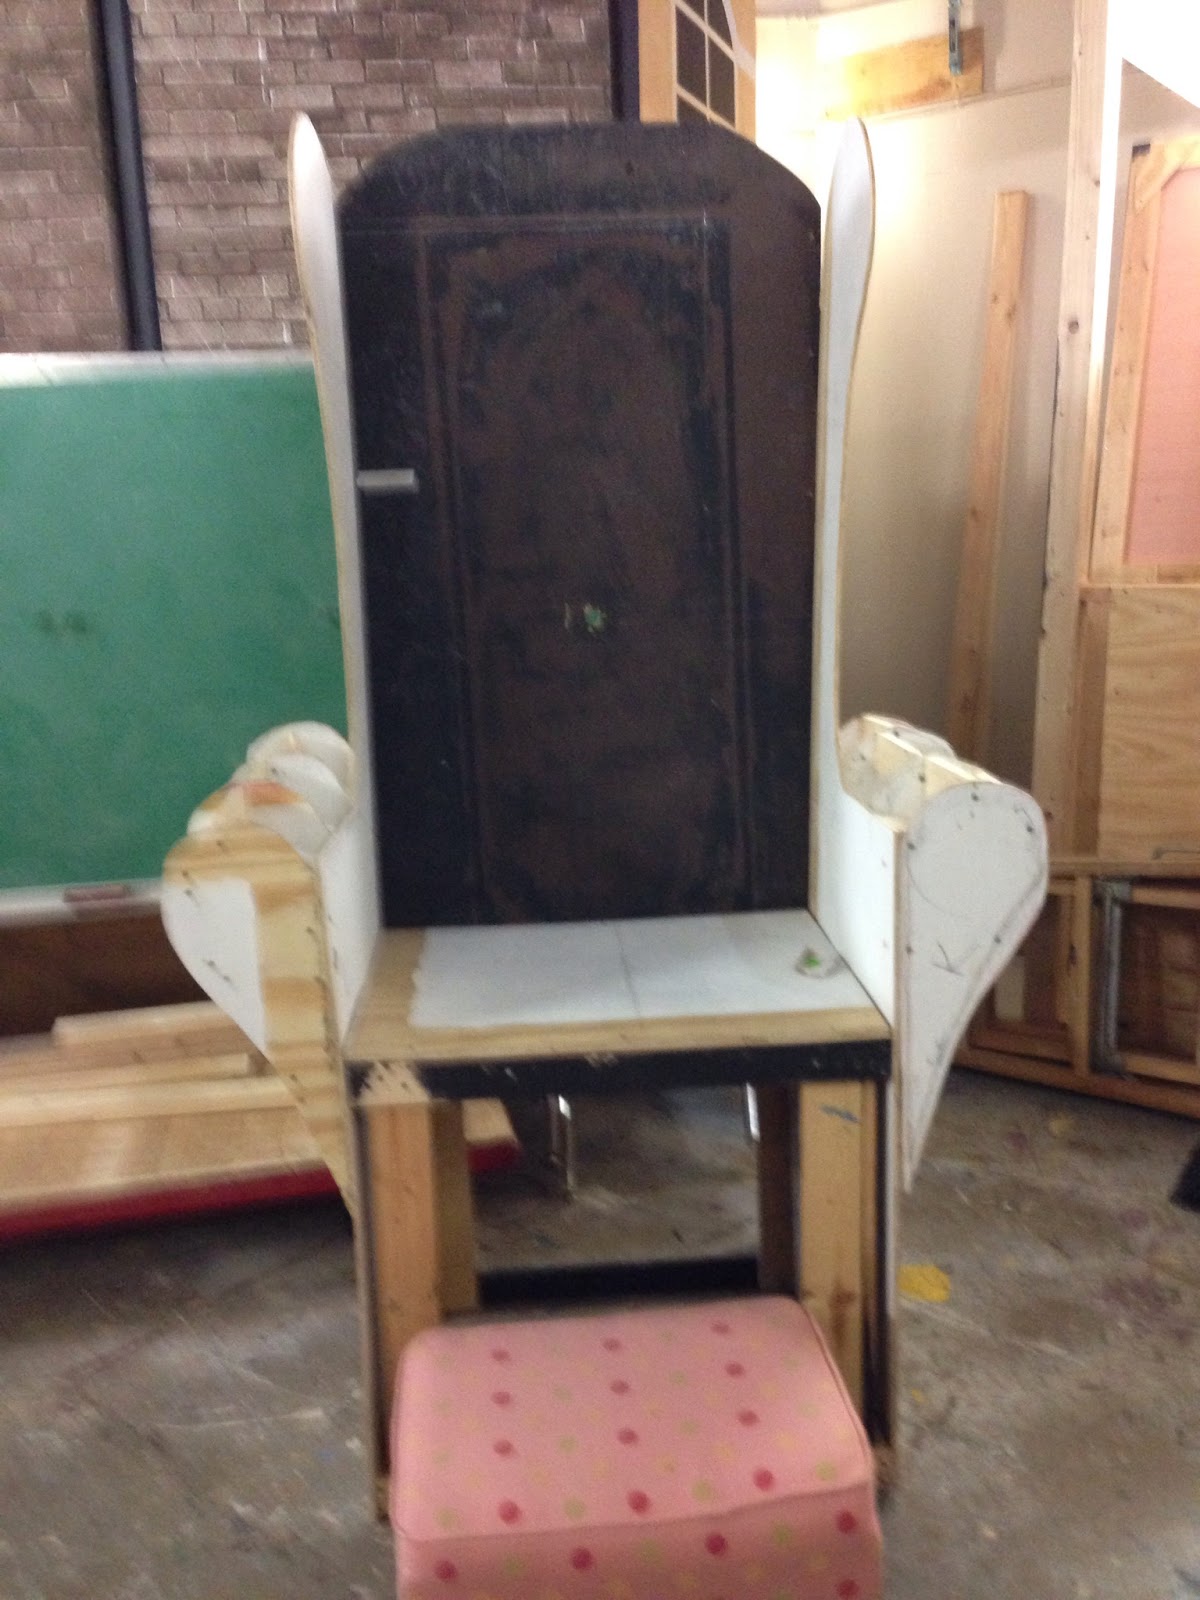
1. The Beast's Chair


This turned out to be a great choice for my mental health, but not so much for my free time.
I worked two shows (for a later post!) as well as taking the class. The director had decided that for our final show, we were gonna go with Beauty and the Beast. The Disney version. The Full version.
I was picked as one of eleven crew heads out of twenty-something crew, at which point I realized what I had gotten myself into.
Here's a rundown of what's taken over my last three months.
1. The Beast's Chair
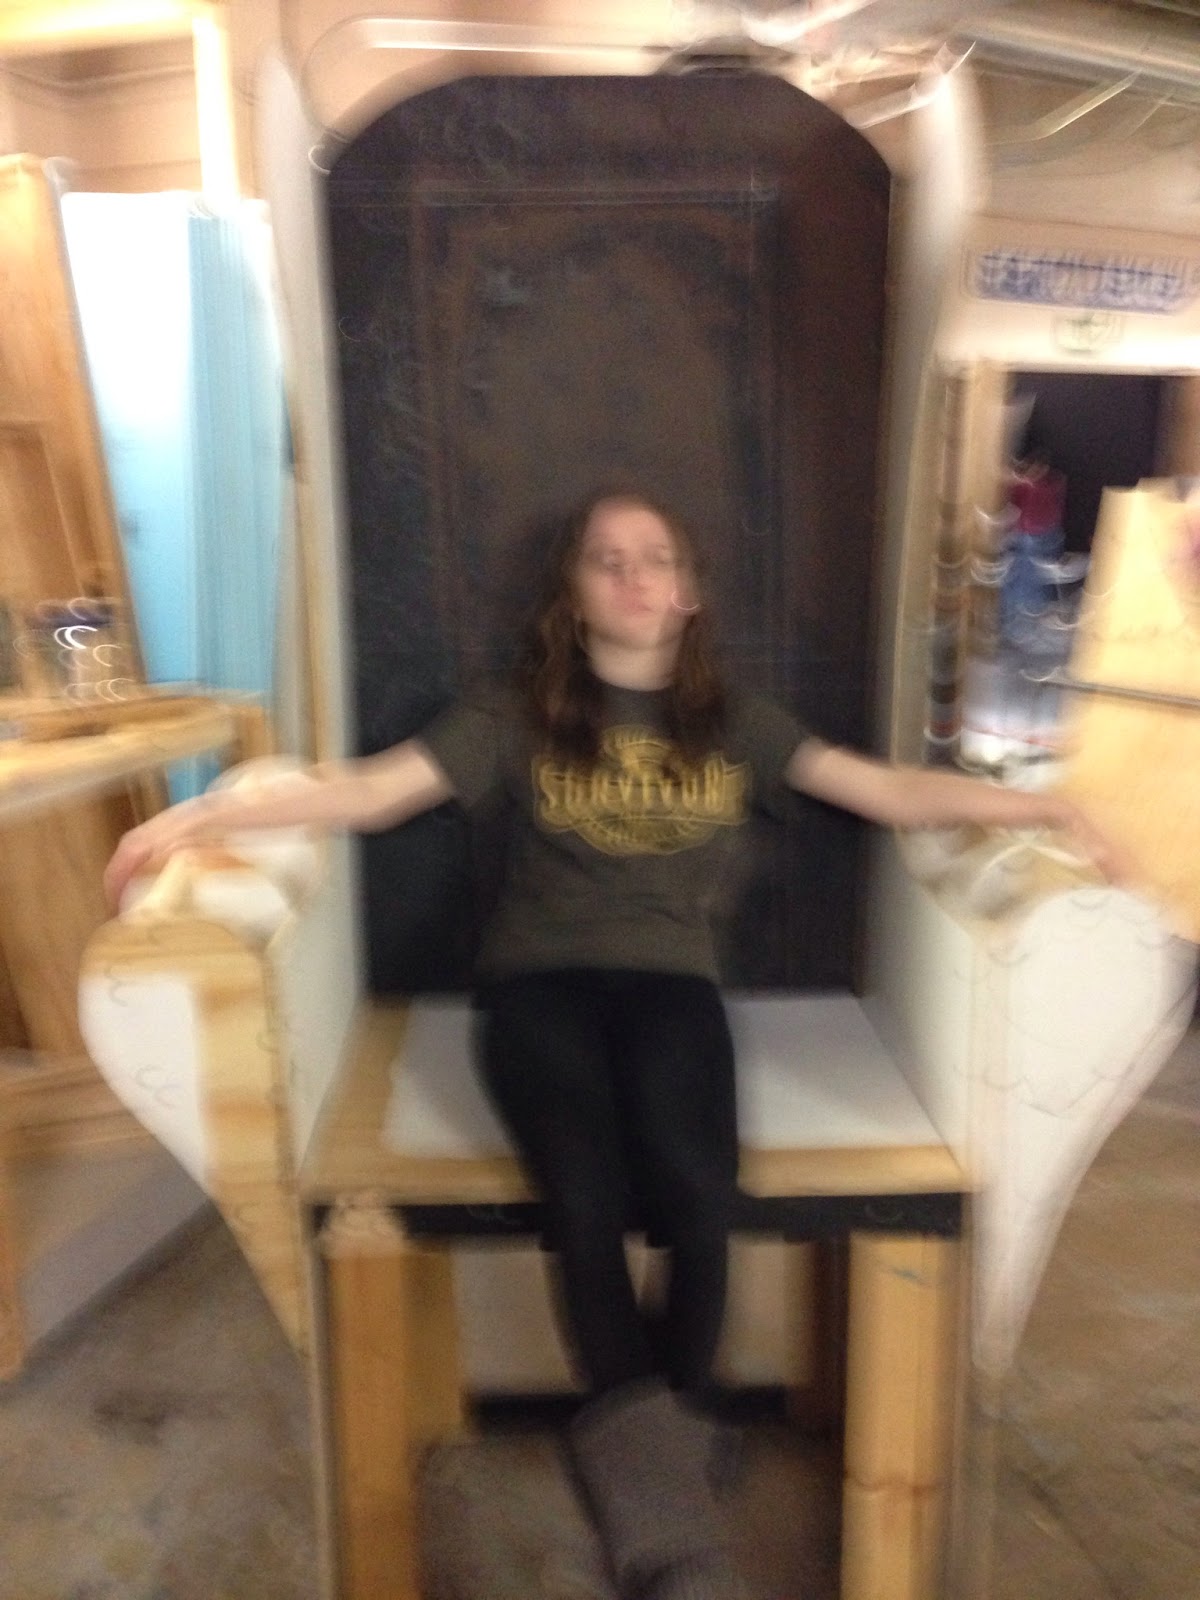
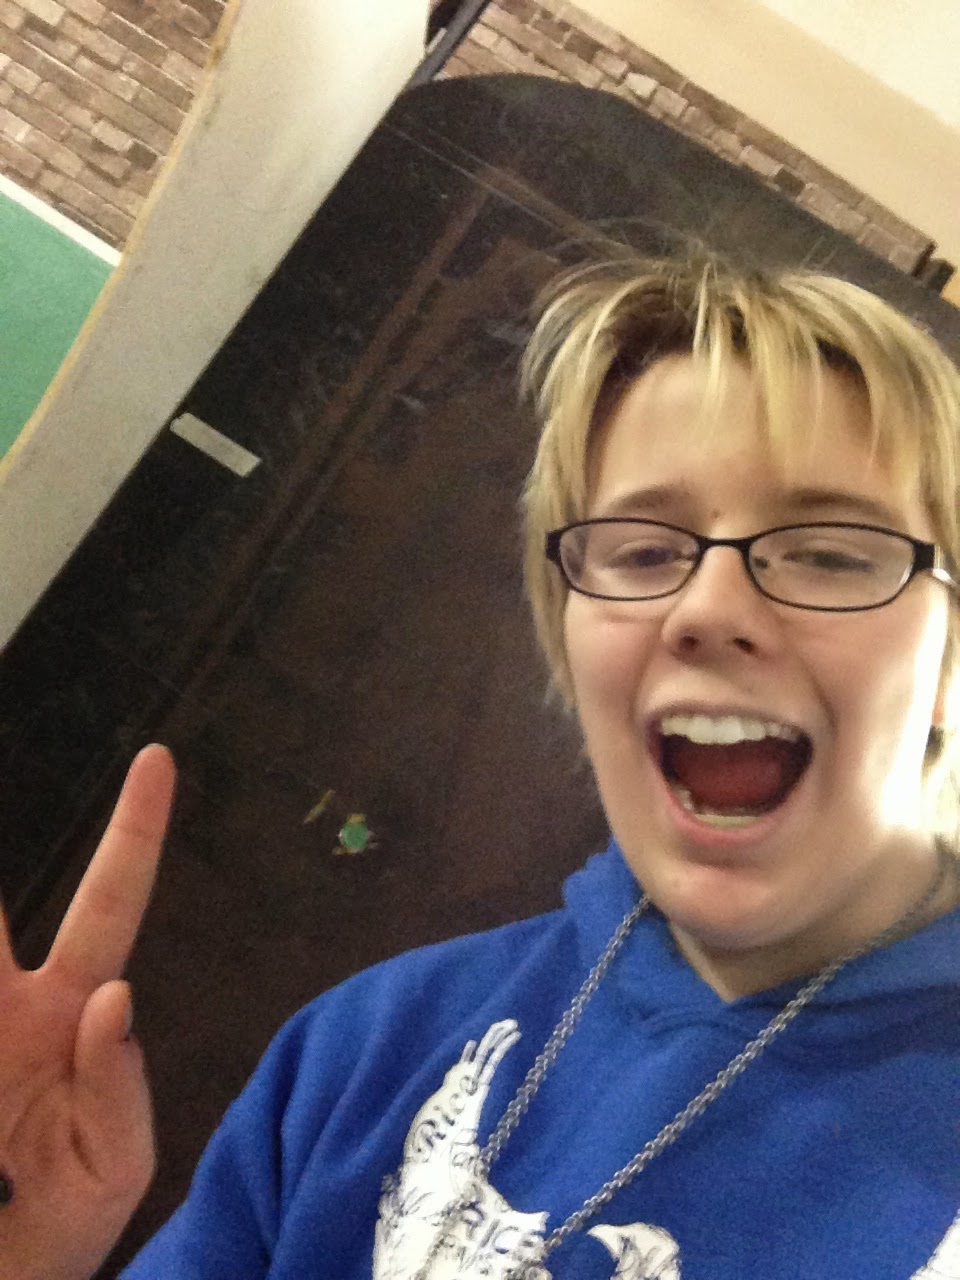
For some reason I don't have a picture of it upholstered, but this was my first project for the musical. Me and two of my classmates were given some pictures of armchairs from other productions, and told to design and make our own. The chair itself is about 3ft. wide and 6.5ft tall, pretty fricking heavy, mostly because of the back. It's name is Dylan. See our selfie below.
The theatre director claimed it as her 'throne' in the scene shop.
2. The Spiral Staircase
My next big project started when the tech director learned that I was in a higher level math class. I walked into the classroom and was immediately told "we need to build a spiral staircase, but it needs to start out being 6 feet wide and taper to 4 feet wide, go from *here* to *here* and curve like *this*." I didn't actually help much with the building of this, but the design was all mine.
3. The Rooftops
By the end, I designed and built three roofs for the show, two for Belle's house, and one for another building that served a number of purposes. They looked very asymmetrical and cartoony, which was great for the audience, but meant we had to have three people to build each one, and even then they sometimes had to be rebuilt. Not to mention, they were heavy enough that we had to tie them to a batten and fly them to get them on the houses.
4. Foam proscenium… thing?
I don't know why we had to have this particular flourish, and it was definitely my least favorite project of the show, just because it was so picky as far as measurements go so that it could be symmetrical. I designed and cut the pieces for the two layer frame for the proscenium arch. (At one point I had to recut something because it wasn't 'wavy' enough) The effect is cool, but that was a week of high blood pressure I could have lived without.
5. Maurice's Invention
I enjoy working with projects that have moving parts and electric components, so this was my main project throughout the production. It's named Ada, after Ada Lovelace, the first computer programmer. What I'm most proud of in this project is that nothing had to be purchased for it. Everything on the invention came from the scene shop or from set pieces from previous shows. Even the wheel attached to the axe came from our second bicycle (which was apparently in three pieces.)
I designed the invention, presented my design to the tech director, and then I worked with an assistant to build the thing. The box on the back held the 'log' to be chopped, and the top was attached by a hinge so Maurice could get to it. The actually chopping motion was supposed to be controlled by a plain DC motor, but the tech director couldn't get one. I ended up ghetto rigging a drill during hell week to turn the belt of the bike wheel and spin a pole attached to the bike wheel and the axe head, while the axe handle was bolted to the invention, which created a second-class lever and a pretty forceful chopping motion. This worked at every rehearsal, until opening night, of course. The Tech Director and I reworked it, and it worked perfectly every other night.
The whole thing is long and heavy, and somehow (barely) rideable. It chops cardboard logs with gusto. It makes me prouder every day. Yay Ada!
5. The Castle
The castle was designed by the directors, but all crew helped build it, and it's really awesome to see it painted and everything, in it's entirety. It's all on casters (we had to push it forward during 'be our guest' as a special effect), and the west wing, stage left, is hollow underneath with an access door on the back. This was so that four of the crew could push it forward and spin it right before the beast's first solo song and show the balcony. It was an awesome show to work on, and apparently to see, as by the second night it was SRO. The actors did amazingly well, and I had so much fun working on it. Now just to wait for next year!
Subscribe to:
Posts (Atom)